We reviewed 220 US manufacturers and chemical company websites. Here's what we found.
For manufacturers with complex product ranges, a website that's hard to navigate is rarely a design problem. It's usually a data issue.
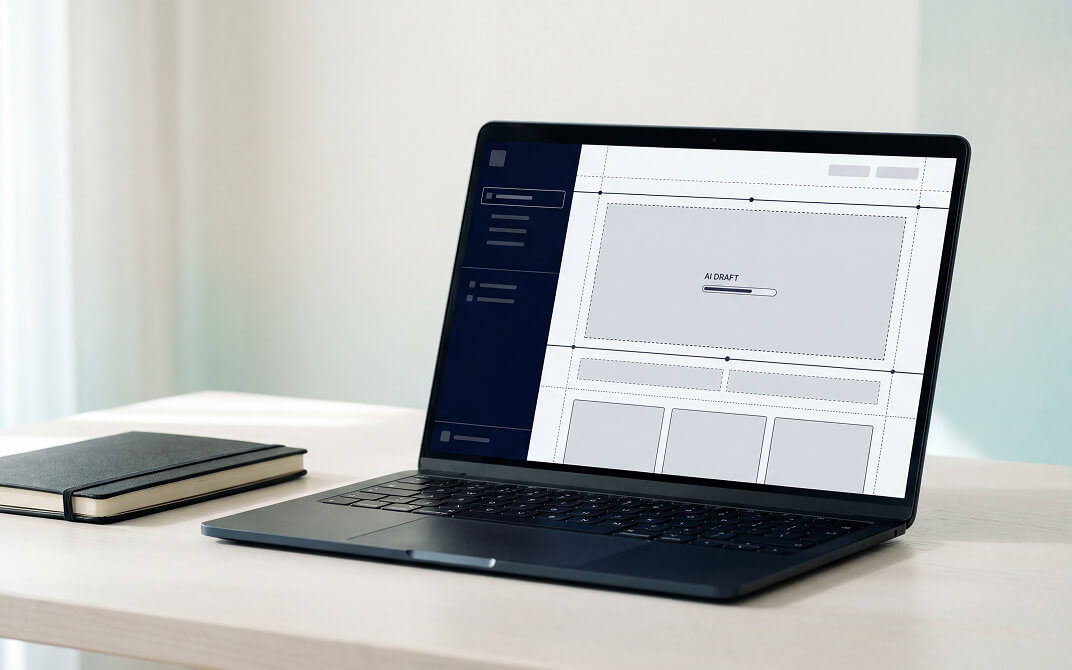
AI makes prototyping fun and easy. But a prototype is not a product.
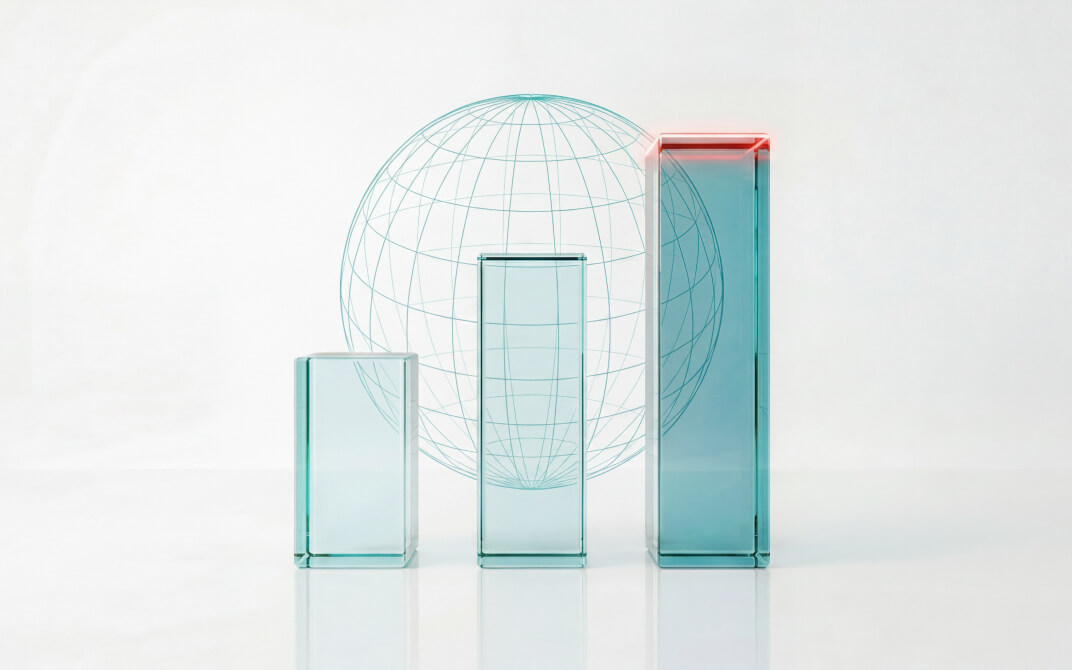
Manufacturers rarely lose business online in one dramatic moment. It happens gradually, through gaps that are easy to miss until someone looks at the numbers properly.
WordPress powers over 40% of the web, and how we build on it has changed dramatically. In 2026, the conversation concerns choosing a foundation that supports performance, scalability, accessibility, and long-term maintainability.
In the race to automate everything, we risk losing what drives real growth. Here’s why AI should augment humans, not replace them.